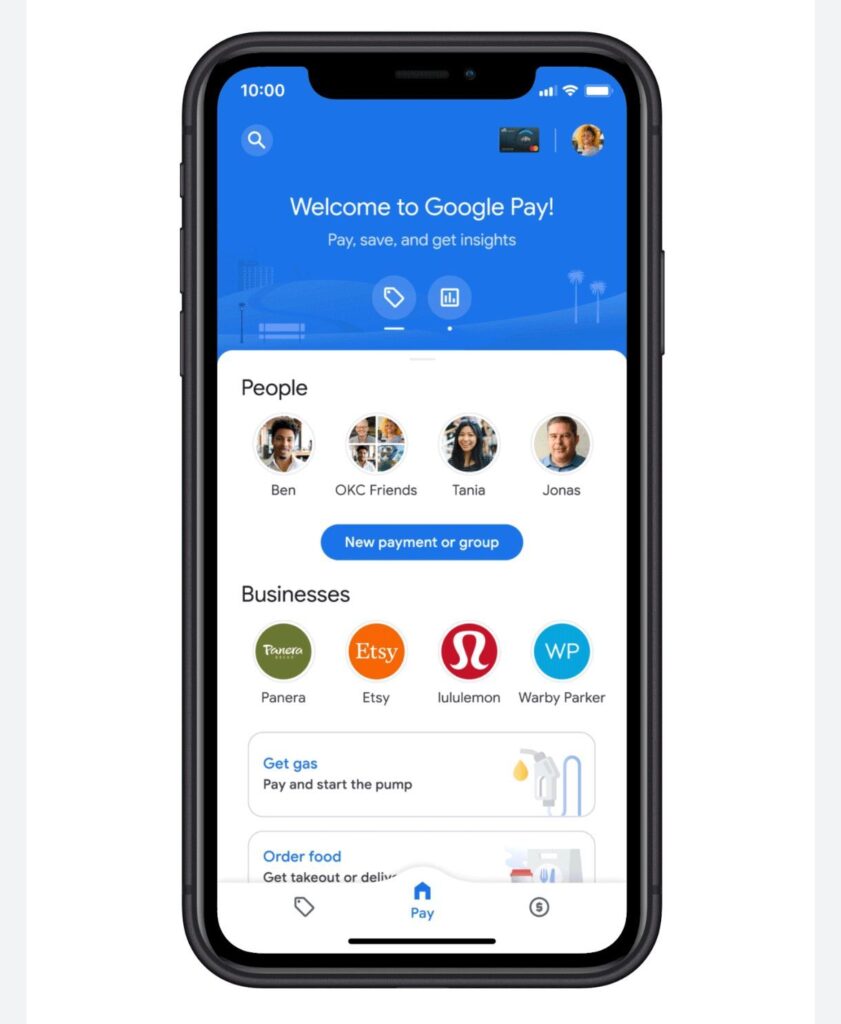
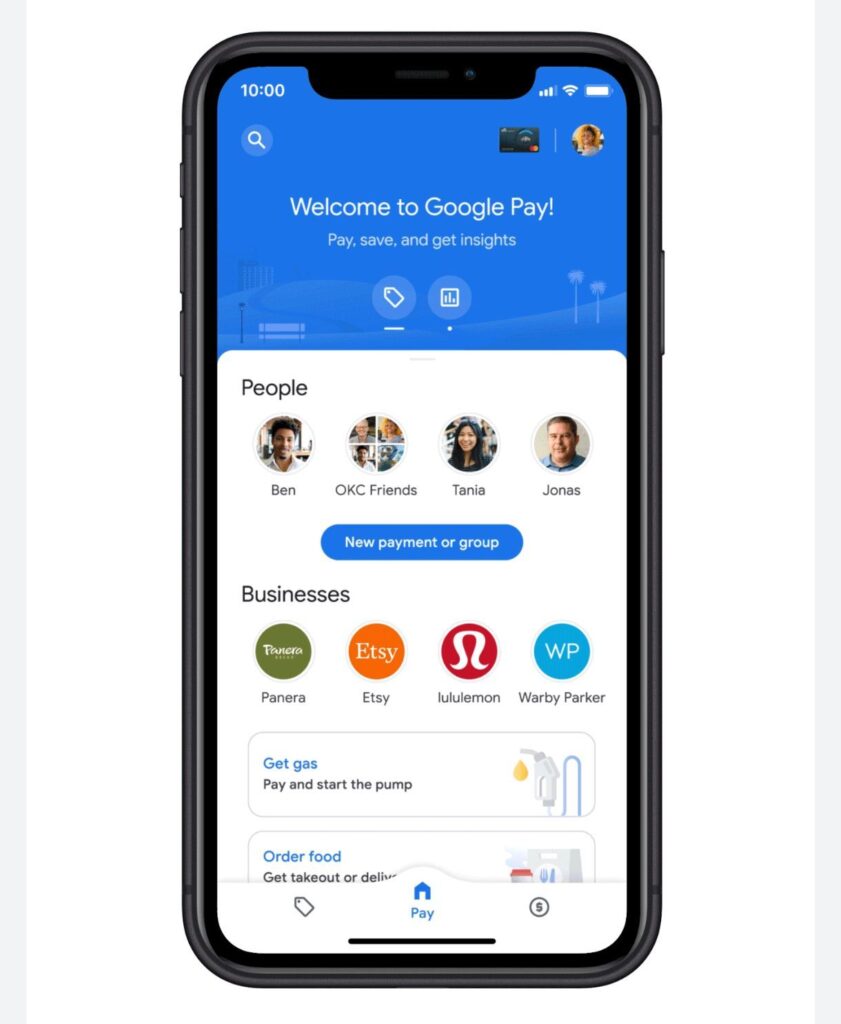
How to Make a Google Pay Account (Beginner’s Guide)
In today’s fast-moving digital world, sending and receiving money has become easier than ever. Whether you’re paying your friends, buying groceries, or recharging your phone, Google Pay (GPay) has made everything possible with just a few taps on your phone.
But if you’re still wondering how to make a Google Pay account, don’t worry—we’ve got you covered with a complete, step-by-step guide.
—
✅ What is Google Pay?
Google Pay is a mobile payment application developed by Google that allows you to send money, pay bills, recharge, shop online, and much more using the Unified Payments Interface (UPI).
Whether you’re an Android user or on iPhone, Google Pay makes digital transactions seamless, safe, and instant.
—
📋 What You Need to Create a Google Pay Account
Before you begin, make sure you have the following:
A smartphone (Android or iOS)
An internet connection (Wi-Fi or mobile data)
A SIM card with an active Indian mobile number
A bank account linked with that mobile number
Your mobile number must be on the same phone where you install GPay
—
🛠️ How to Create a Google Pay Account: Step-by-Step
Step 1: Download Google Pay
Click the link
Earn ₹21 cashback on your first payment. Just enter my referral code k6v601 or download the app with my referral link https://g.co/payinvite/k6v601
Tap Install and wait for the app to download and install.
Step 2: Choose Your Preferred Language
Once the app opens, choose your preferred language from the list and tap “Continue.”
Step 3: Enter Your Mobile Number
Type the mobile number that is linked to your bank account. This number will be used for UPI registration. Tap “Next.”
Step 4: Grant Permissions
Google Pay will ask for permissions to access SMS, Contacts, and Location. These are required to verify your number and help make payments to your contacts.
Tap Allow when prompted.
Step 5: Sign in With Your Google Account
Choose your Google Account to link with Google Pay. This account helps in syncing settings and improving your experience.
Step 6: Set Screen Lock or Google PIN
To keep your transactions secure, you’ll be asked to set a screen lock or use your device’s fingerprint or PIN for future logins.
Step 7: Link Your Bank Account
1. Tap on your profile picture at the top right.
2. Tap “Add bank account.”
3. Choose your bank from the list (like SBI, HDFC, ICICI, Axis Bank, etc.).
4. The app will send an SMS for verification.
5. Once verified, your account will be linked.
6. Set your UPI PIN if you haven’t already (you’ll receive an OTP from your bank).
Now your Google Pay account is fully set up and ready for use!
—
🎁 Invite and Earn – Use Our Referral Code!
Want to earn rewards and cashback while helping your friends get started with GPay?
👉 Use this referral link to sign up:
Earn ₹21 cashback on your first payment. Just enter my referral code k6v601 or download the app with my referral link https://g.co/payinvite/k6v601
When you sign up using this link and make your first transaction, both you and the referrer can earn cashback (subject to Google’s latest offers)!
—
💸 How to Send or Receive Money Using Google Pay
Now that your account is ready, here’s how to make transactions:
To Send Money:
Tap “Pay”
Choose a contact or enter UPI ID / mobile number
Enter the amount
Confirm with UPI PIN
To Receive Money:
Tap “+ New Payment”
Choose “Bank Transfer” or “Request”
Enter amount and reason
Send request to your contact
You can also scan QR codes for instant payments at shops and vendors.
—
📲 Recharge, Pay Bills & More
Google Pay isn’t just for money transfers. You can:
Recharge prepaid mobiles
Pay postpaid bills
DTH, electricity, water, gas bills
Book train or flight tickets
Pay credit card bills
Pay insurance premiums
Subscribe to OTT apps like Netflix, Prime, Hotstar
All from a single app—with no extra charges.
—
⚠️ Common Issues & Troubleshooting
Here are a few common problems and their fixes:
“SIM Verification Failed”
– Make sure your mobile number is active and inserted in SIM slot 1.
“Bank Not Listed” or “Bank Not Linking”
– Check if your bank supports UPI. Ensure correct mobile number is linked with your bank.
“UPI PIN Not Working”
– Reset the PIN using “Forgot UPI PIN” option. You’ll need your debit card for this.
App Crashing or Freezing
– Update the app to the latest version and clear cache if needed.
—
🔐 Safety Tips for Google Pay Users
Your money is your responsibility. Here’s how to keep your GPay account safe:
Never share your UPI PIN with anyone.
Avoid suspicious links or calls claiming to be from Google Pay.
Enable screen lock or biometric lock for the app.
Check payment history regularly for unauthorized transactions.
Always use the official app, not clones or modified versions.
—
✅ Why Choose Google Pay?
There are many UPI apps, but Google Pay stands out because:
No fees on transfers or bill payments
Backed by Google – fast, reliable, and secure
Wide acceptance across India
Simple, clean interface
Offers, coupons, and cashback rewards
24/7 support via in-app help center
Whether you’re sending ₹10 or ₹10,000, GPay makes it instant and stress-free.
—
🔚 Final Thoughts
Setting up a Google Pay account is quick, secure, and completely free. Whether you’re a student, business owner, or working professional, Google Pay can simplify your daily transactions like never before.
So why wait? Get started today.
🎁 Sign up now with this referral link and grab your rewards!
👉 [Earn ₹21 cashback on your first payment. Just enter my referral code k6v601 or download the app with my referral link https://g.co/payinvite/k6v601]
—
If you found this guide useful, don’t forget to bookmark it and share it with someone who still hasn’t joined the digital payment revolution!

